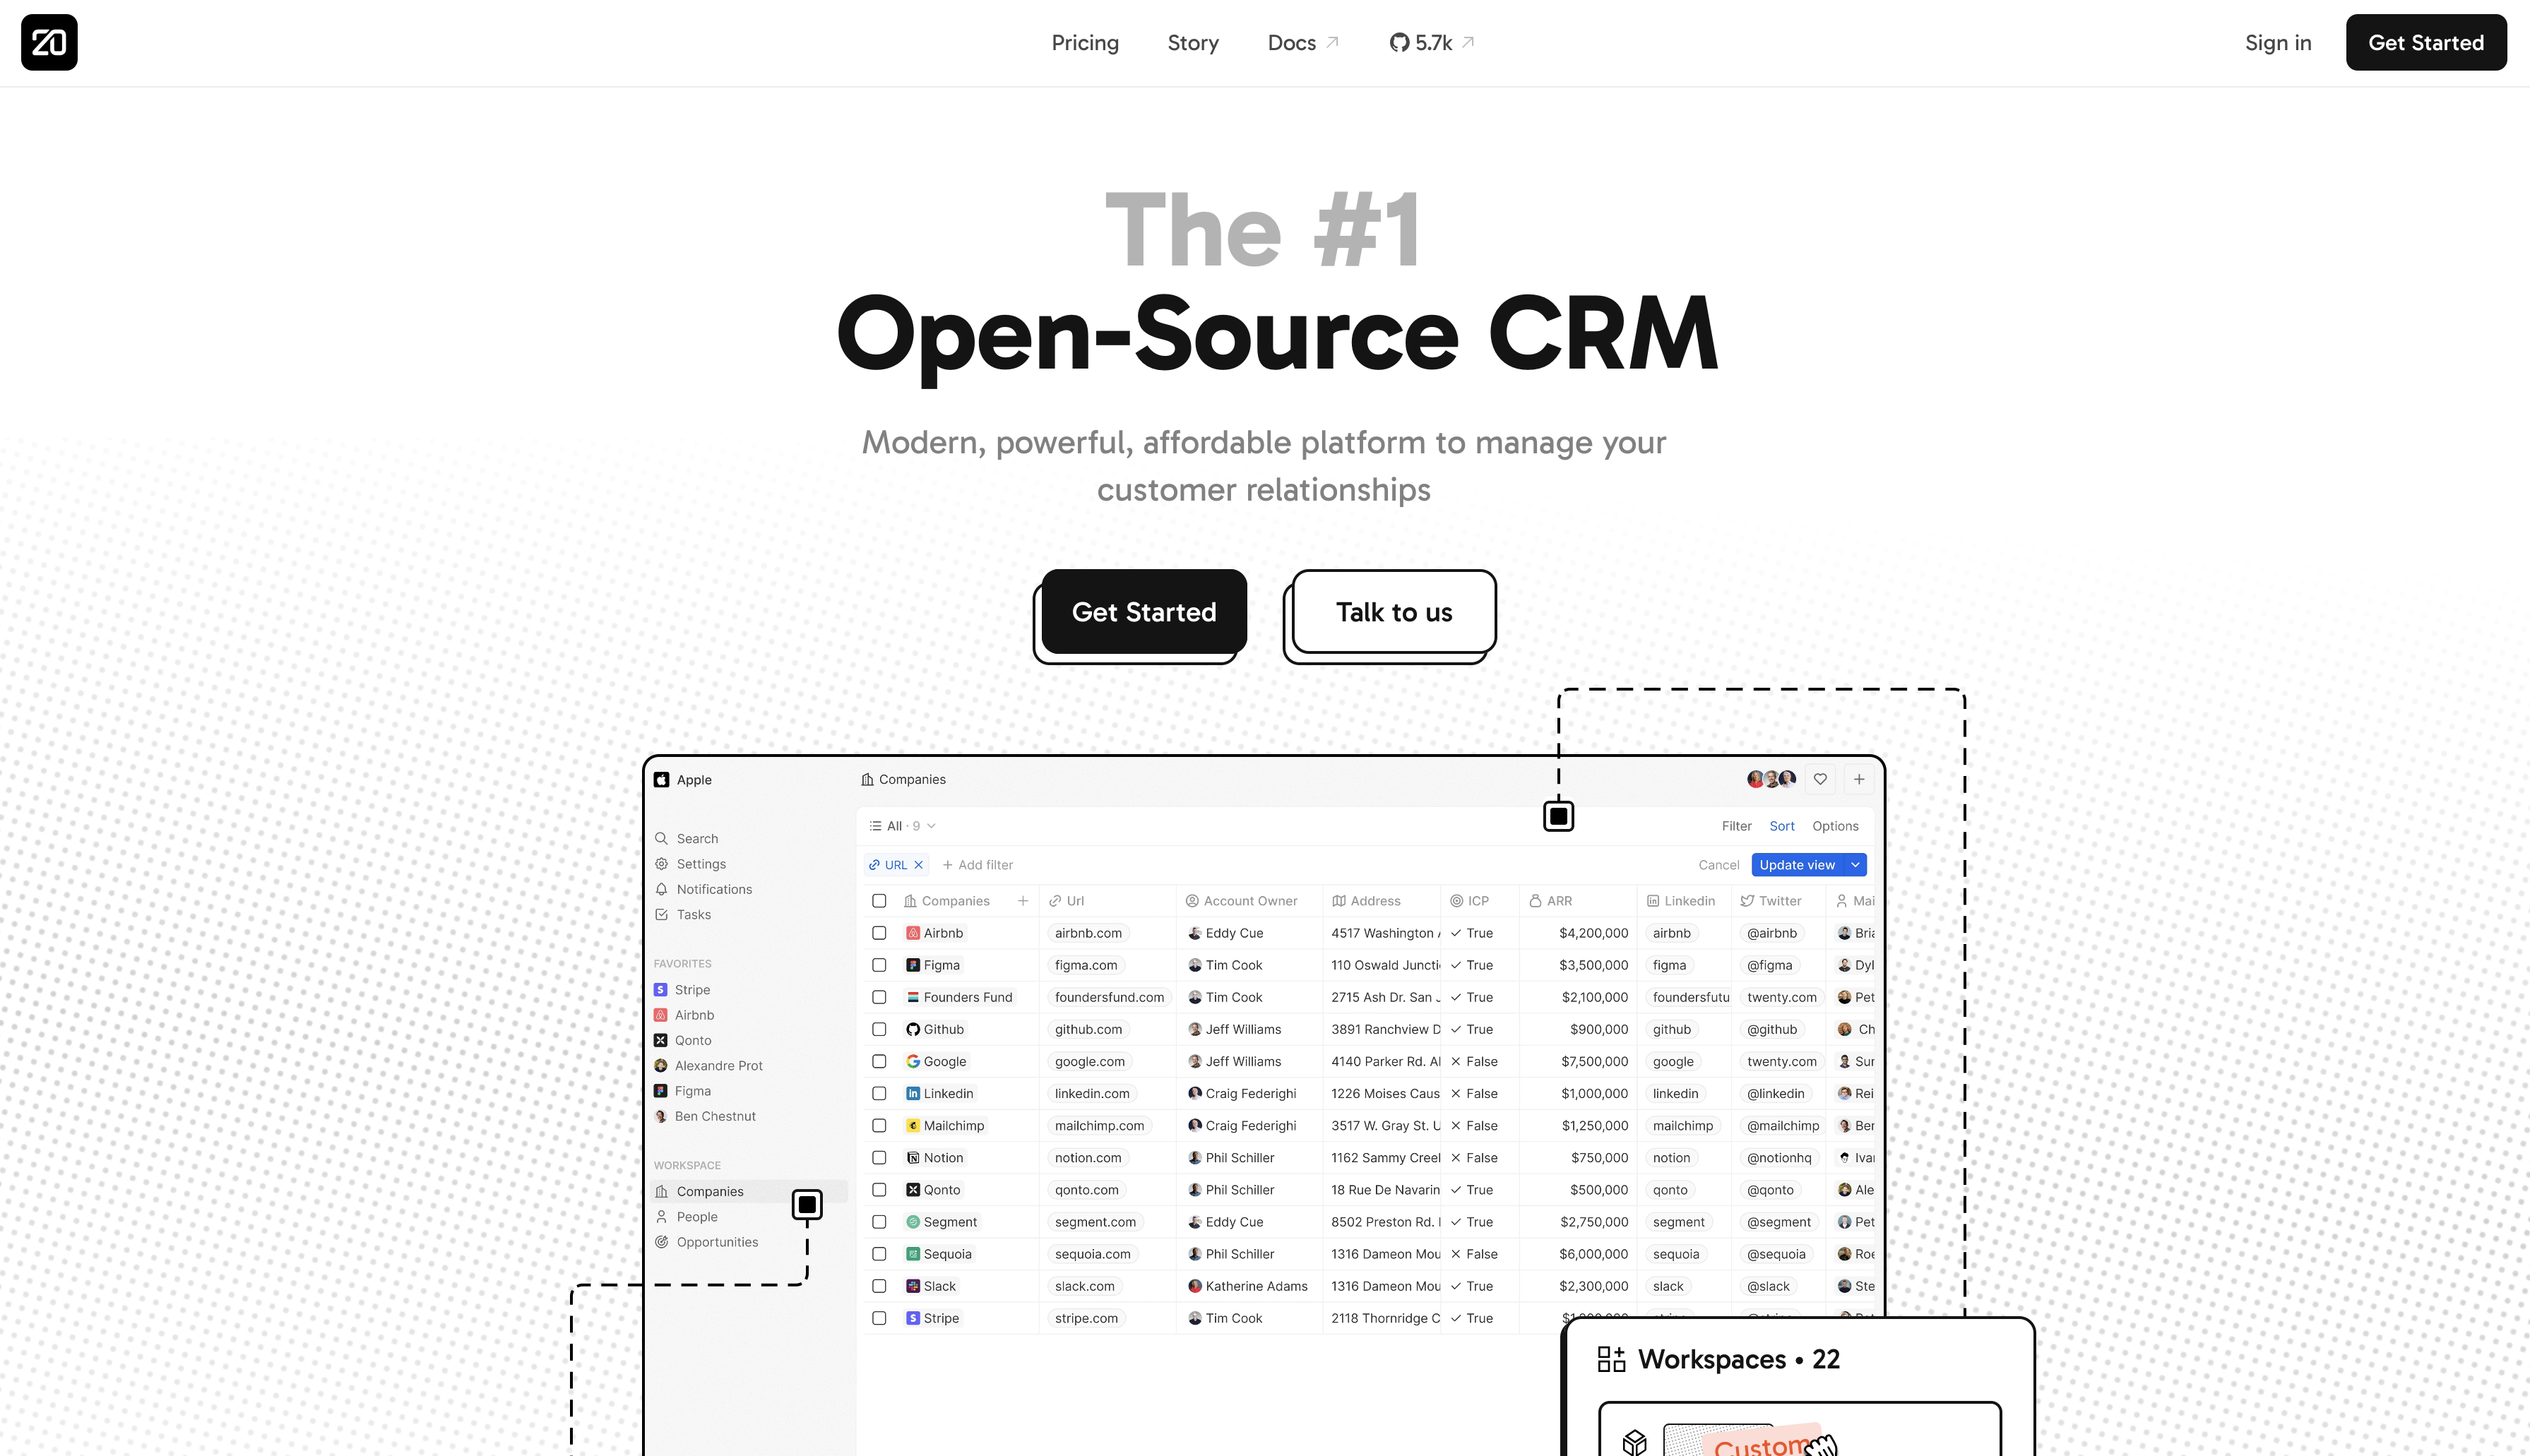
Why Twenty CRM?
Majority of the companies need some sort of CRM that they can use to manage their customers and sales in a better way. The problem, though, is most of them are unaffordable for newer or smaller businesses. Solution? Open source service like Twenty CRM that can be self-hosted at a very fair price.
In this article, we will walkthrough how you can self-host something like Twenty CRM for your company. Let's start.
1. Integrating Messaging & Calendar Sync
To start messaging and calendar features we will need to setup recurring jobs in the worker container.
yarn command:prod cron:messaging:messages-import
yarn command:prod cron:messaging:message-list-fetch
yarn command:prod cron:calendar:calendar-event-list-fetch
These commands will import and sync your gmail and calendar data automatically. With Twenty, you’ll have all your messages and events in one place!

2. Setting Up Environment Variables
Now, let's quickly setup all the environment variables. We are covering all the essential variables here for both frontend and backend.
Frontend Variables:
REACT_APP_SERVER_BASE_URL=http://localhost:3000	# URL for backend server
GENERATE_SOURCEMAP=false	# Generate source maps for debugging
CHROMATIC_PROJECT_TOKEN		# You will need to take this token from chromatic.
Backend Variables:
PG_DATABASE_URL=postgres://user:pw@localhost:5432/db	# Database connection
REDIS_URL=redis://localhost:6379	# Redis connection URL
SERVER_URL=http://localhost:3000	# URL to the backend server
ACCESS_TOKEN_SECRET=<random>	# Secret key for access tokens
CACHE_STORAGE_TTL=3600 * 24 * 7	#Cache Time-to-Live in second
Secure Token Generation:
We will need to generate some unique tokens for a few variables my personal favourite way is to use openssl. But you can use any other way to generate these tokens.
openssl rand -base64 32We will need these tokens in the following variables.
ACCESS_TOKEN_SECRET=first_random_string
LOGIN_TOKEN_SECRET=second_random_string
REFRESH_TOKEN_SECRET=third_random_string
FILE_TOKEN_SECRET=fourth_random_string
Configuring Email & Storage:
Now, let's enable email notifications and file storage.
If you are using Gmail you can go ahead with this.
EMAIL_SMTP_HOST=smtp.gmail.com
EMAIL_SMTP_PORT=465
EMAIL_SMTP_USER=gmail_email_address
EMAIL_SMTP_PASSWORD=gmail_app_password
For local storage:
STORAGE_TYPE=local
STORAGE_LOCAL_PATH=.local-storage
Alternatively you can also use S3 storage:
STORAGE_S3_REGION=us-east-1
STORAGE_S3_NAME=my-bucket
STORAGE_S3_ACCESS_KEY_ID=my-access-key
STORAGE_S3_SECRET_ACCESS_KEY=my-secret-key
Launch Twenty with Docker Compose:
With environment variables set up let's spin up the container and get started.
curl -o .env https://raw.githubusercontent.com/twentyhq/twenty/main/packages/twenty-docker/.env.example
Now, download the docker-compose.yml file:
curl -O https://raw.githubusercontent.com/twentyhq/twenty/main/packages/twenty-docker/docker-compose.yml
Start the App
Run this command to launch Twenty in the background:
docker-compose up -dYou can now access Twenty at http://localhost:3000. If you need external access, update SERVER_URL in the .env file, and then restart the Docker containers:
docker-compose down
docker-compose up -d
Configuring for External Access:
Just change the SERVER_URL to your domain or ip to make this available over the internet.
Direct Access (No Reverse Proxy):
SERVER_URL=http://your-domain-or-ip:3000
With Reverse Proxy (Standard Ports):
SERVER_URL=https://your-domain-or-ip
Restart your docker container after changing these variables.
Common problems:
- Login Issues: If you’re having trouble logging in, reset the database:
docker exec -it twenty-server-1 npx nx database:resetThen restart your containers:
docker-compose down && docker-compose up -d- Reverse Proxy Problems:
While using the reverse proxy make sure that SERVER_URL matches the access url, and check your reverse proxy settings to make sure headers like X-Forwarded-For are correctly set.
Advanced Options: Integrate AI and Telemetry:
You can also enable AI based tools and features:
OPENAI_API_KEY=your_openai_keyIf you’re using Sentry for error logging, update these variables:
SENTRY_DSN=https://xxx@xxx.ingest.sentry.io/xxx
SENTRY_ENVIRONMENT=production
Wrapping up:
I hope this guide helped you setting up and hosting Twenty CRM for your company. If you have any doubts you can join Twenty's Discord here. They have really good discord support ngl.